Lhasa Sera Monastery - Take a photo with the small path and white walls.
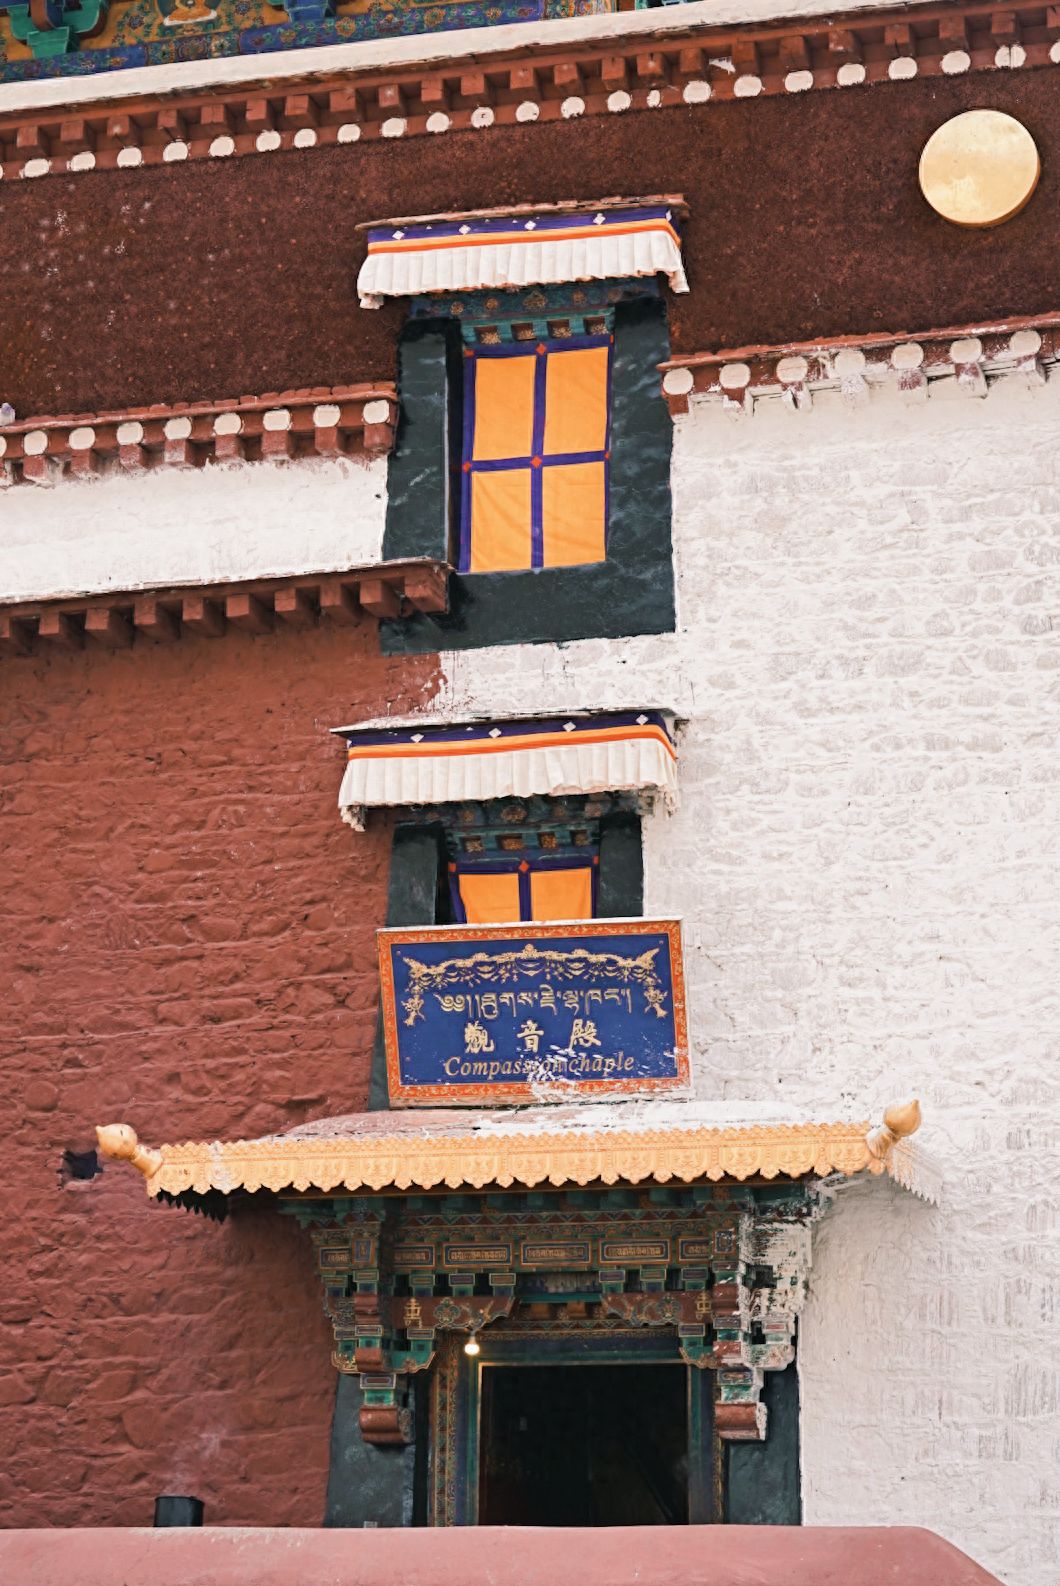
Sera Monastery - Avalokitesvara Hall
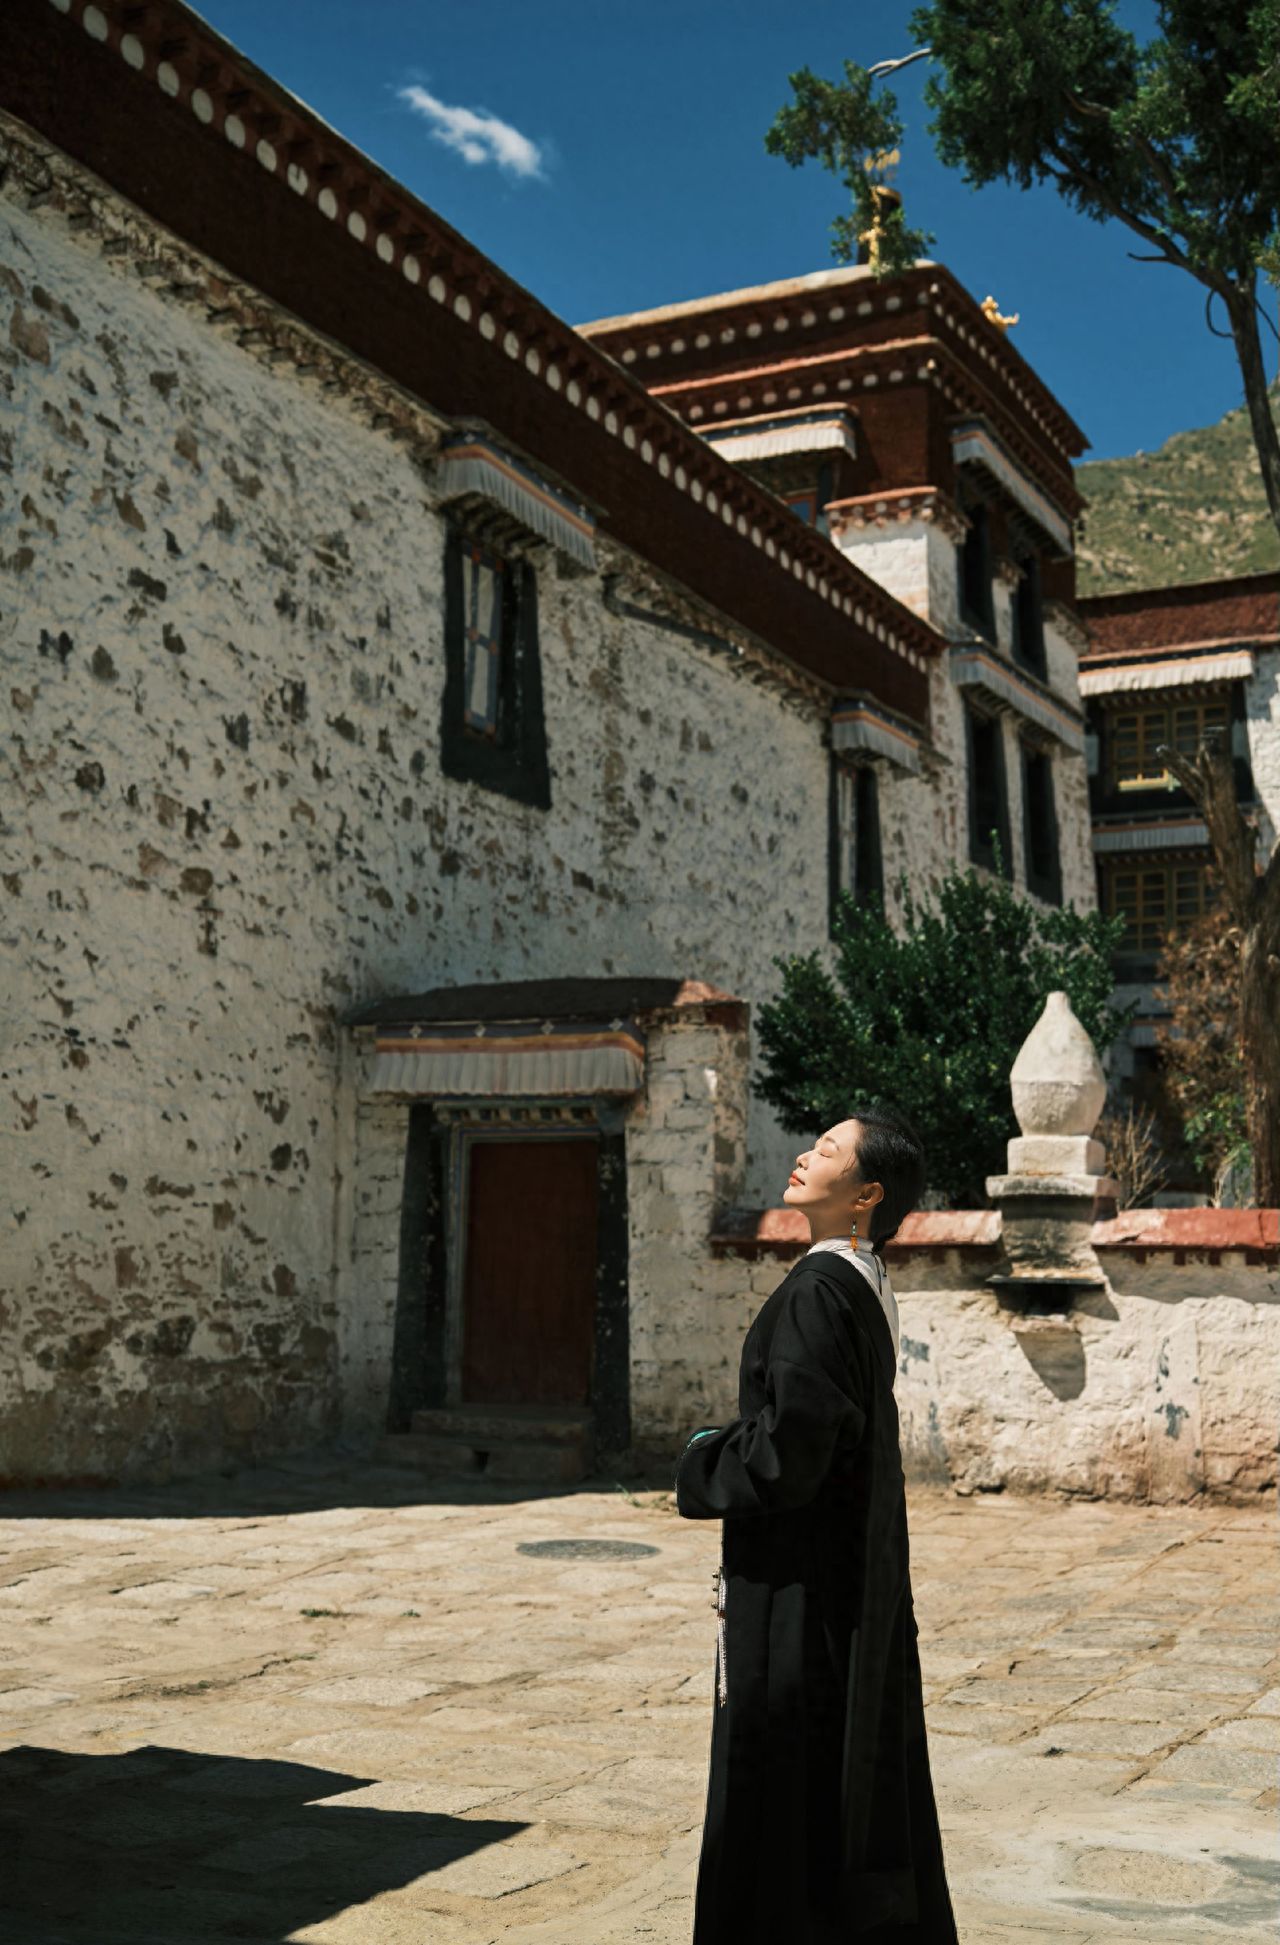
Sera Monastery - Take a photo with the white buildings and red walls.

Sera Monastery - Take a photo with the white and red wall buildings.
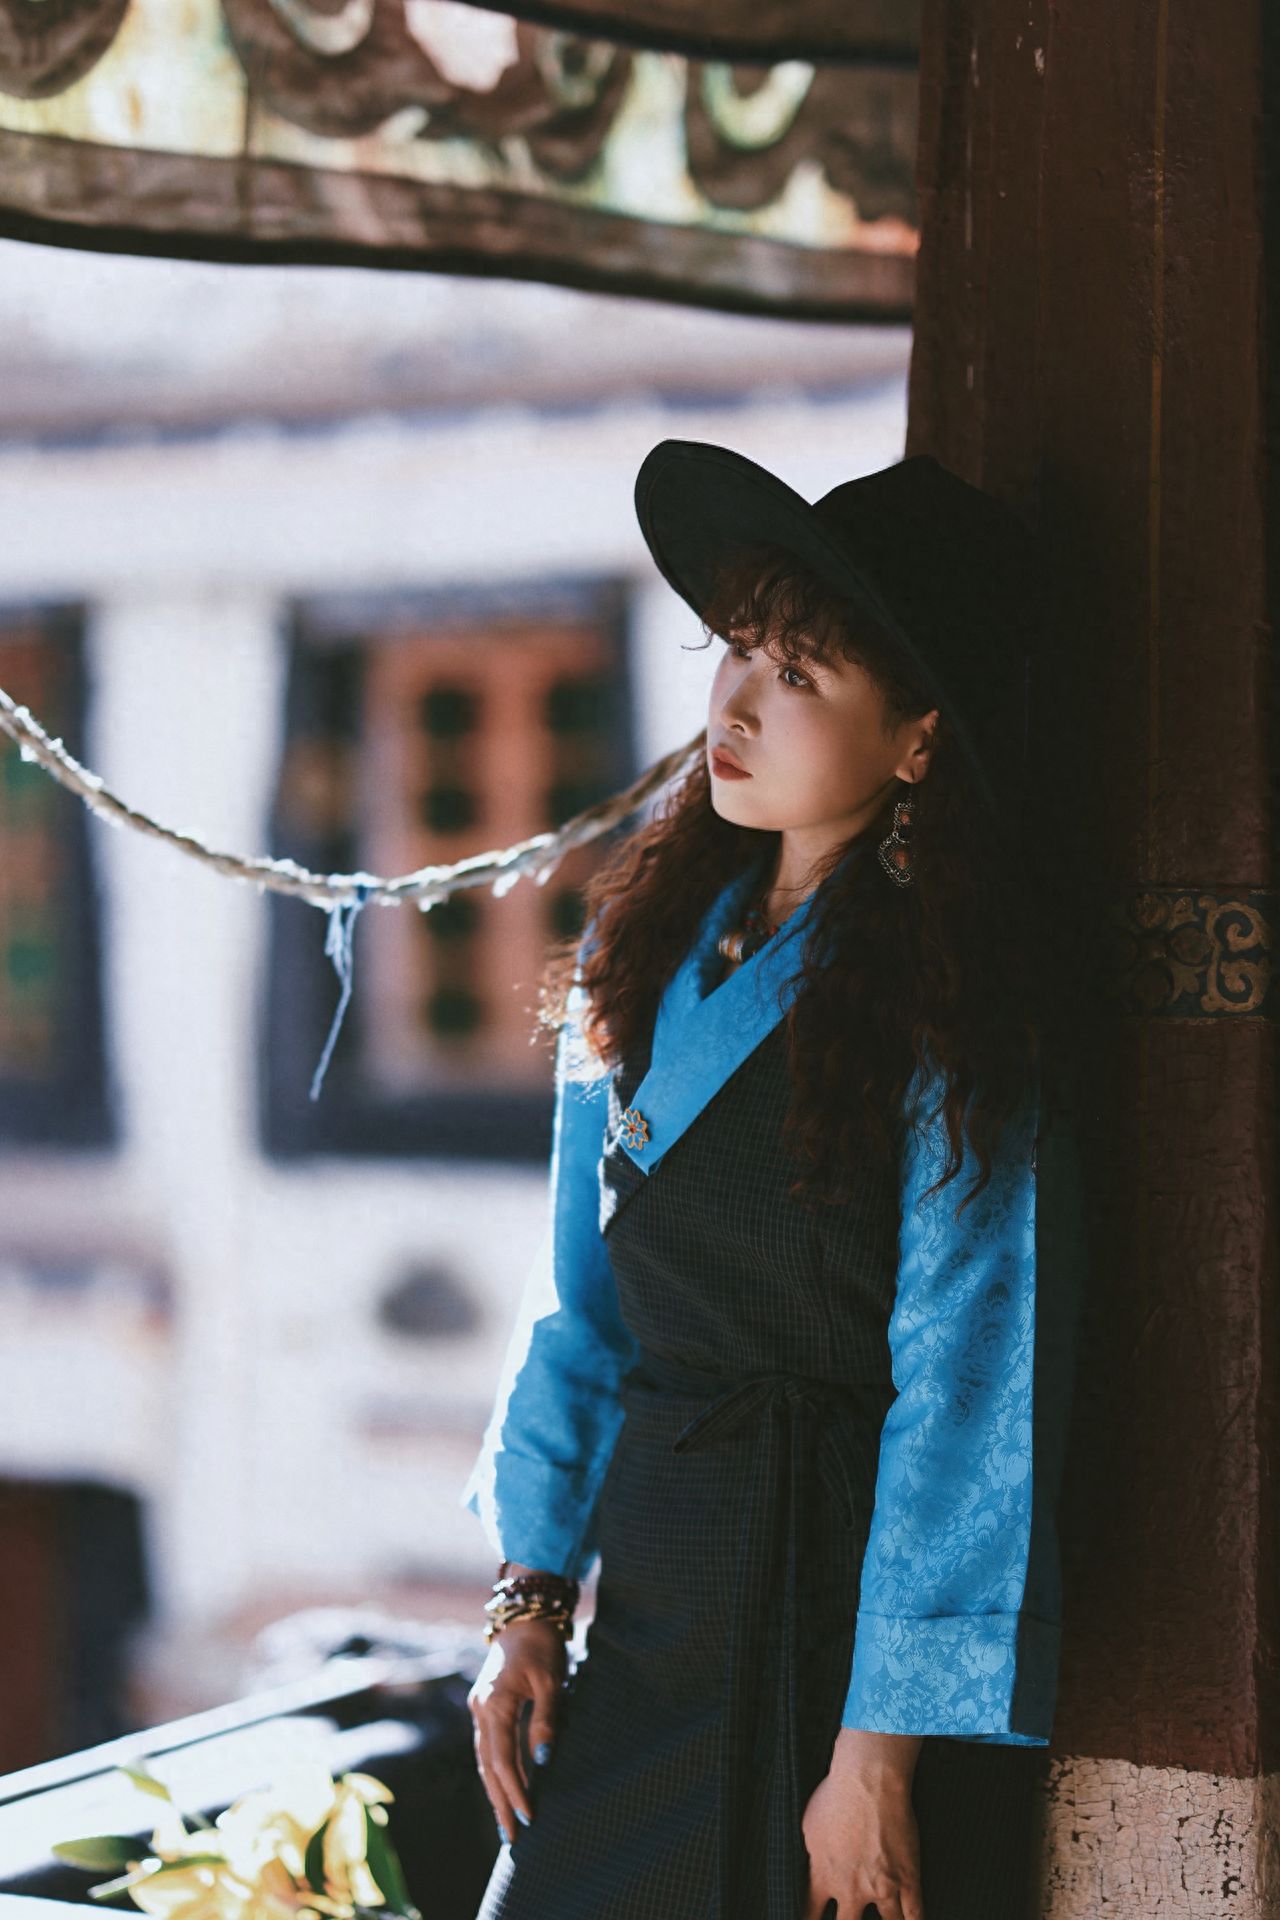
Sera Monastery - Taking a photo with the pillar draperies
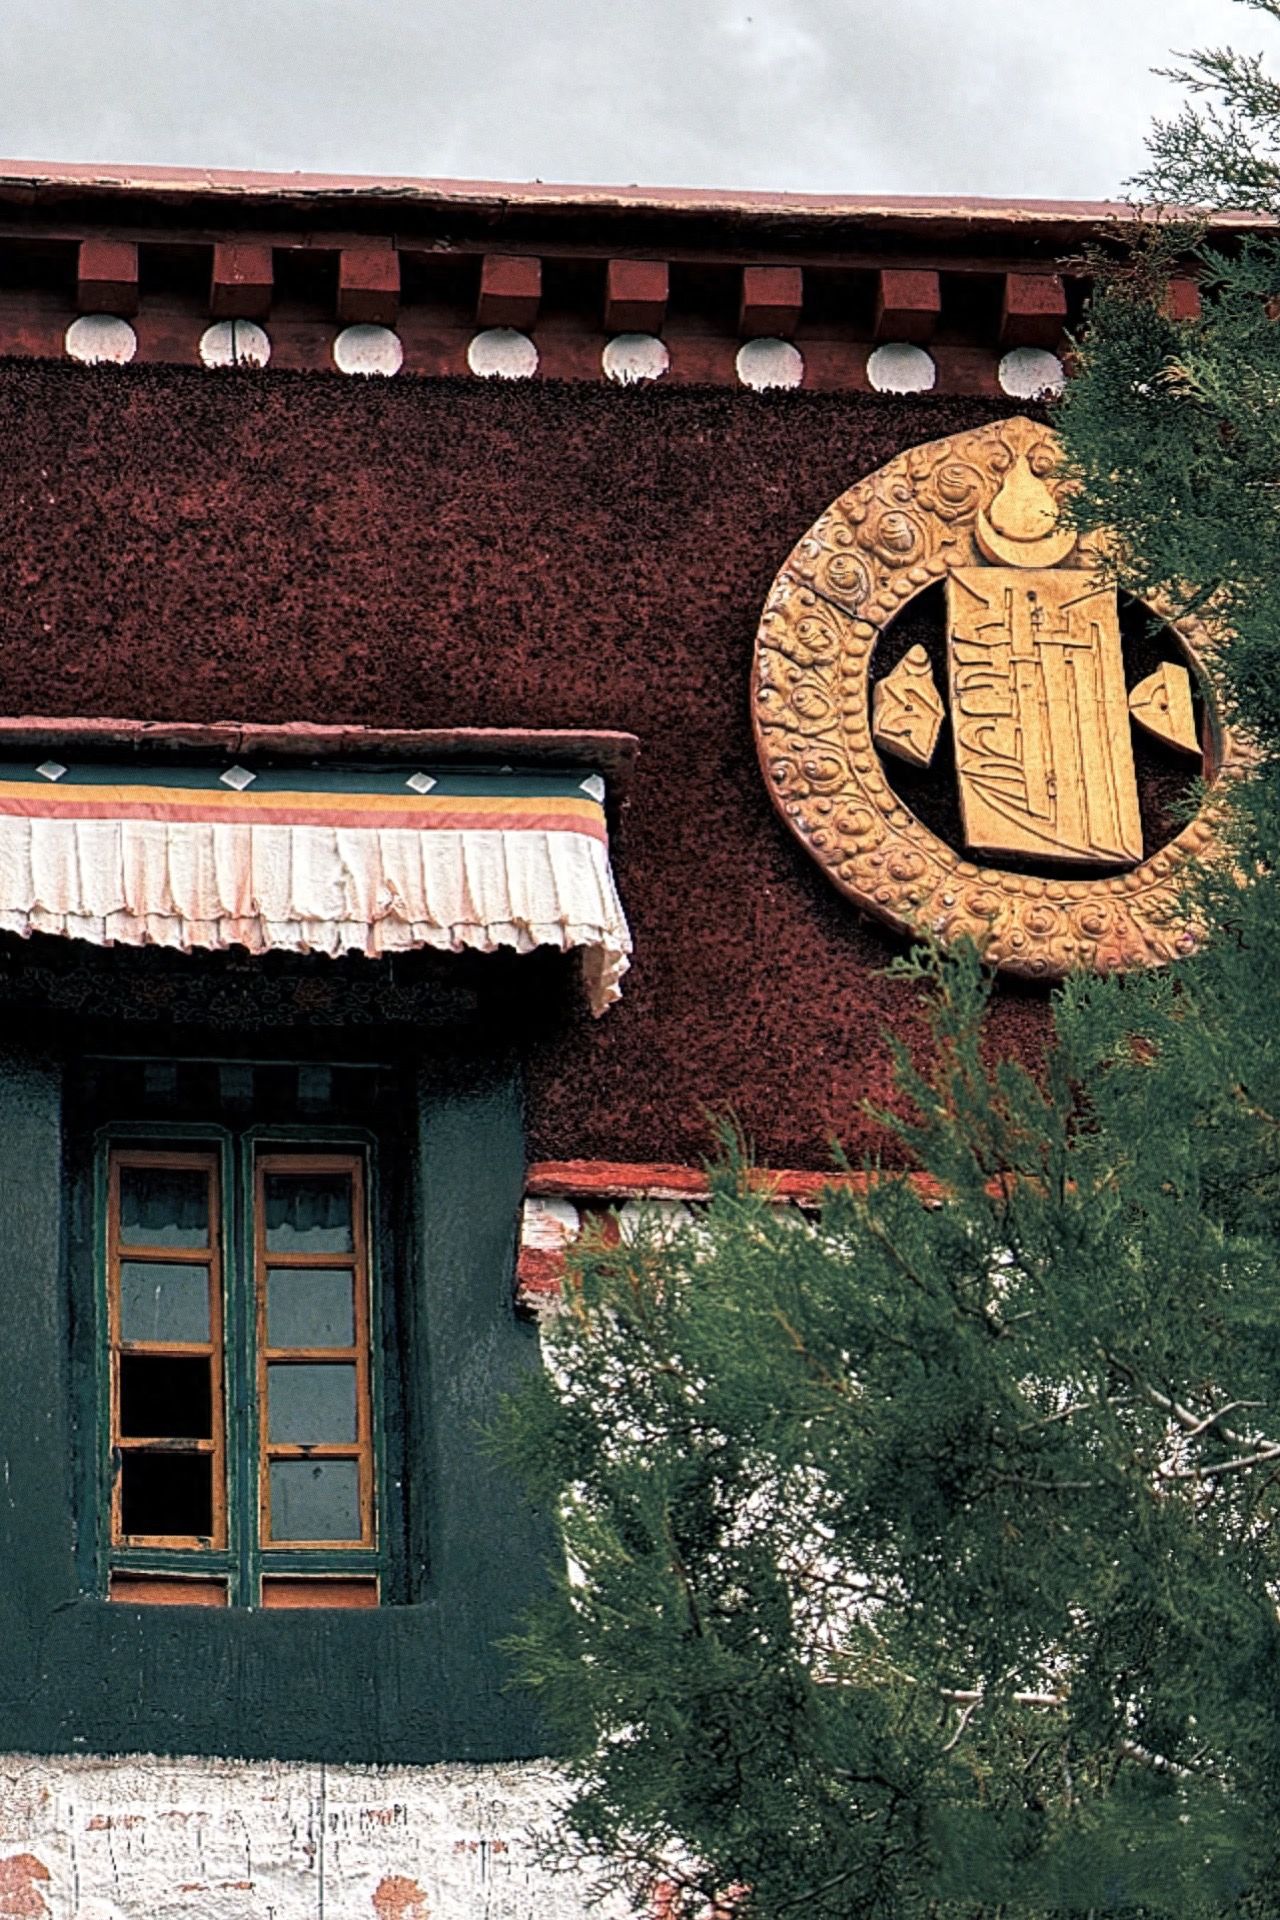
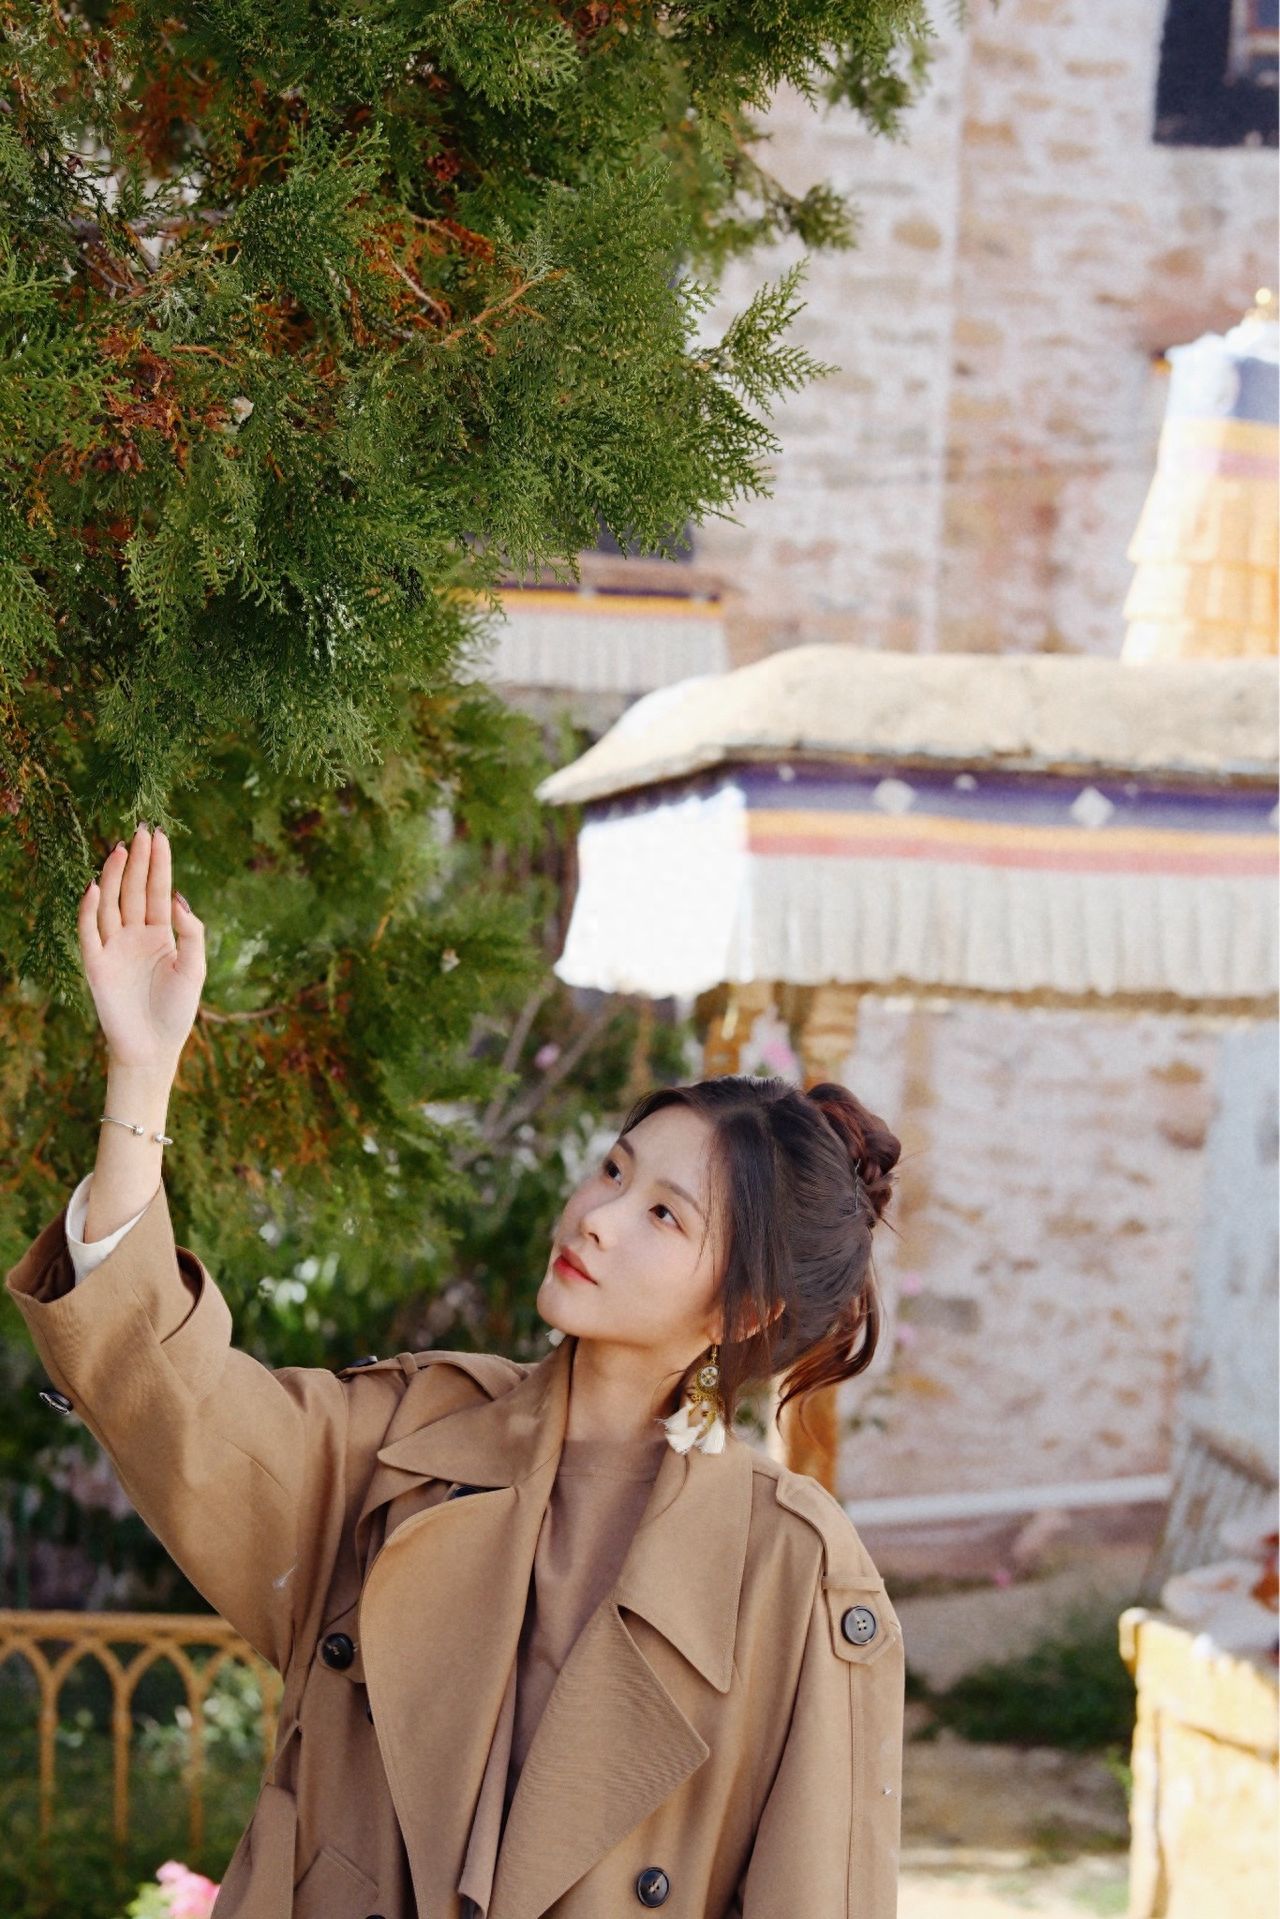
Sera Monastery - Capture the window lattice and golden emblem through the branches.
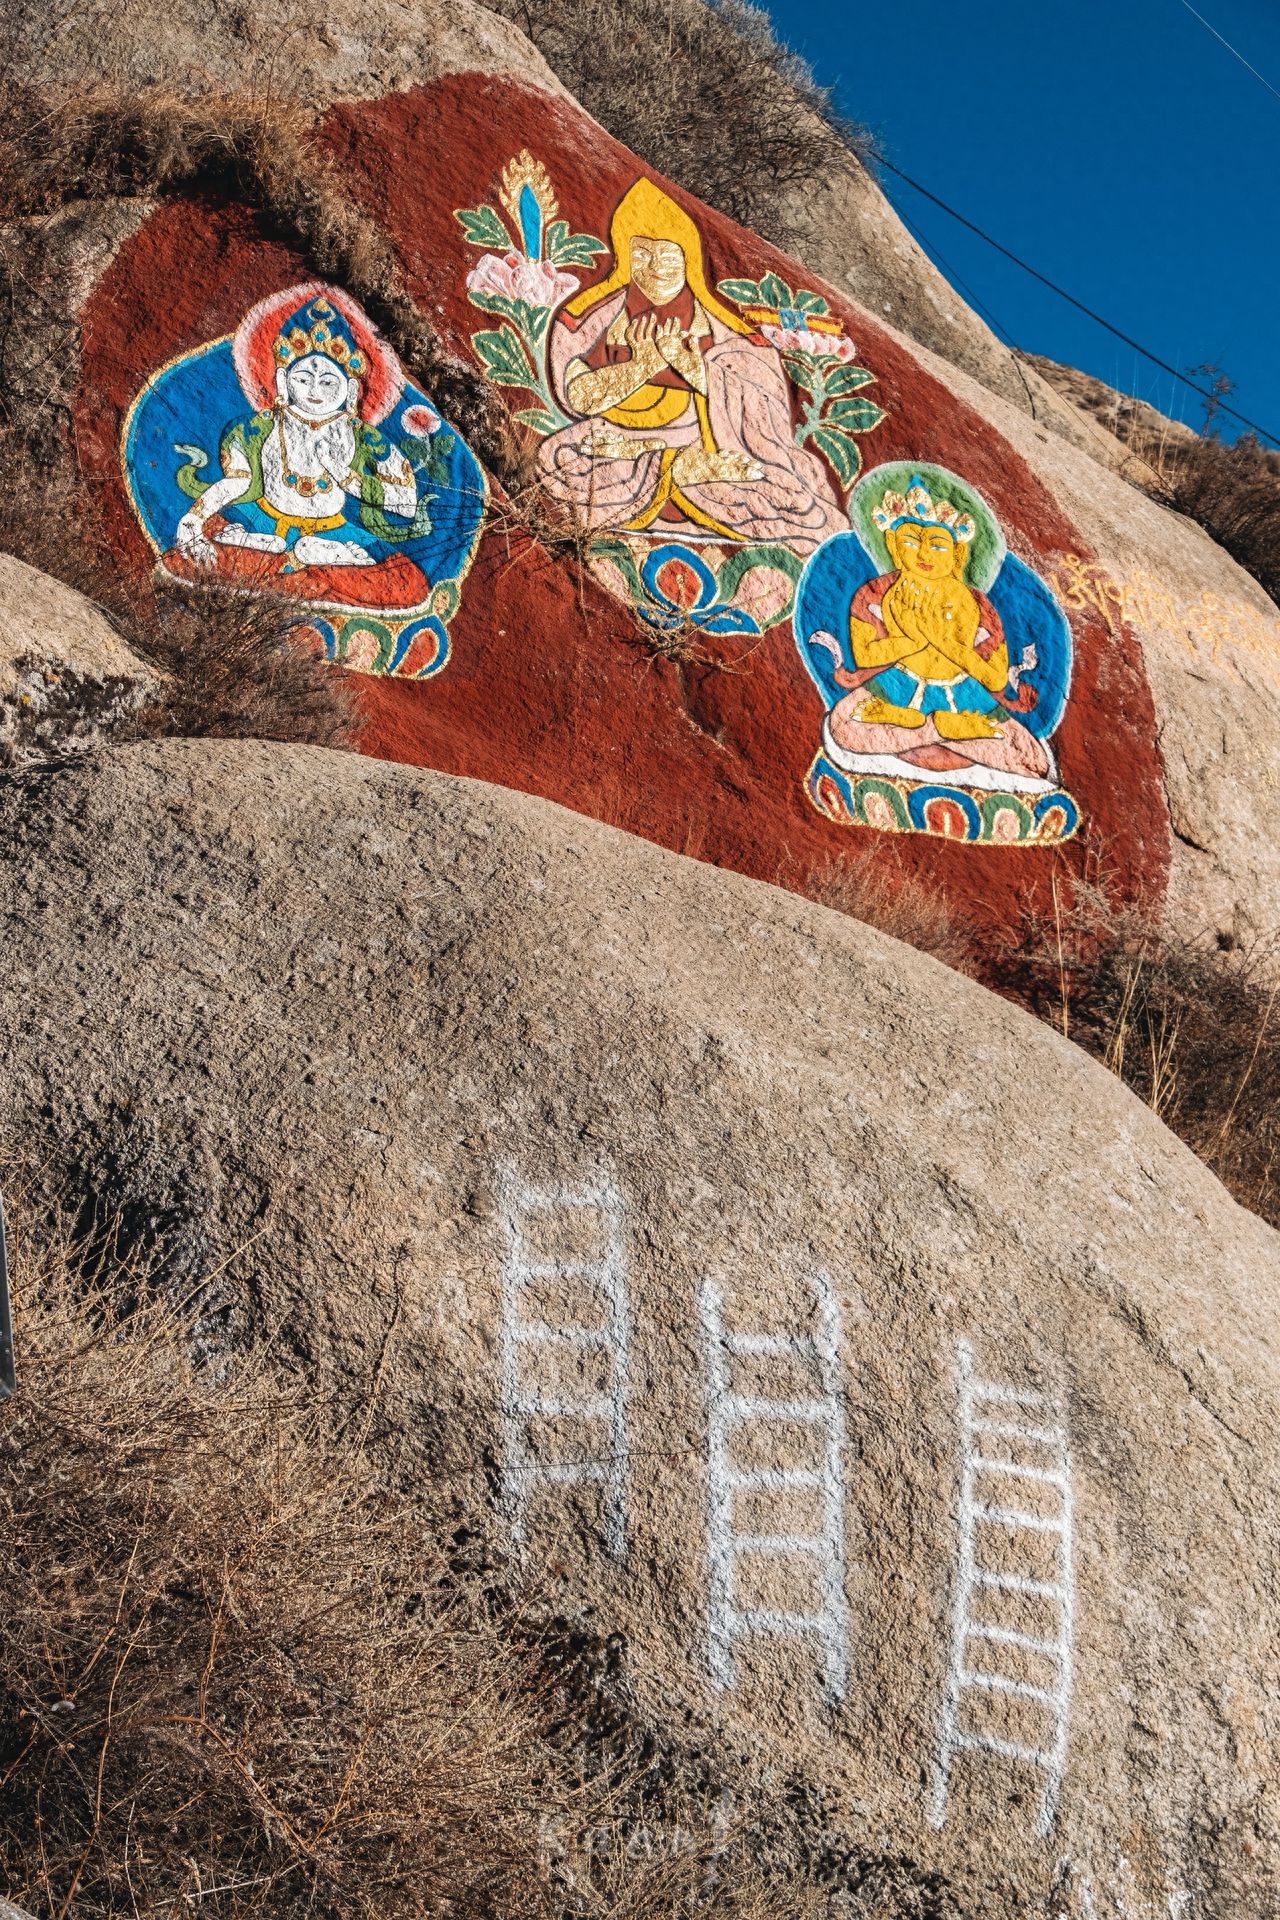
Sera Monastery - Close-up of the Three Buddhas Carved on the Rock and Ladder Painting

Lhasa Sera Monastery - Take a photo with the white-walled buildings on both sides of the alleyways.
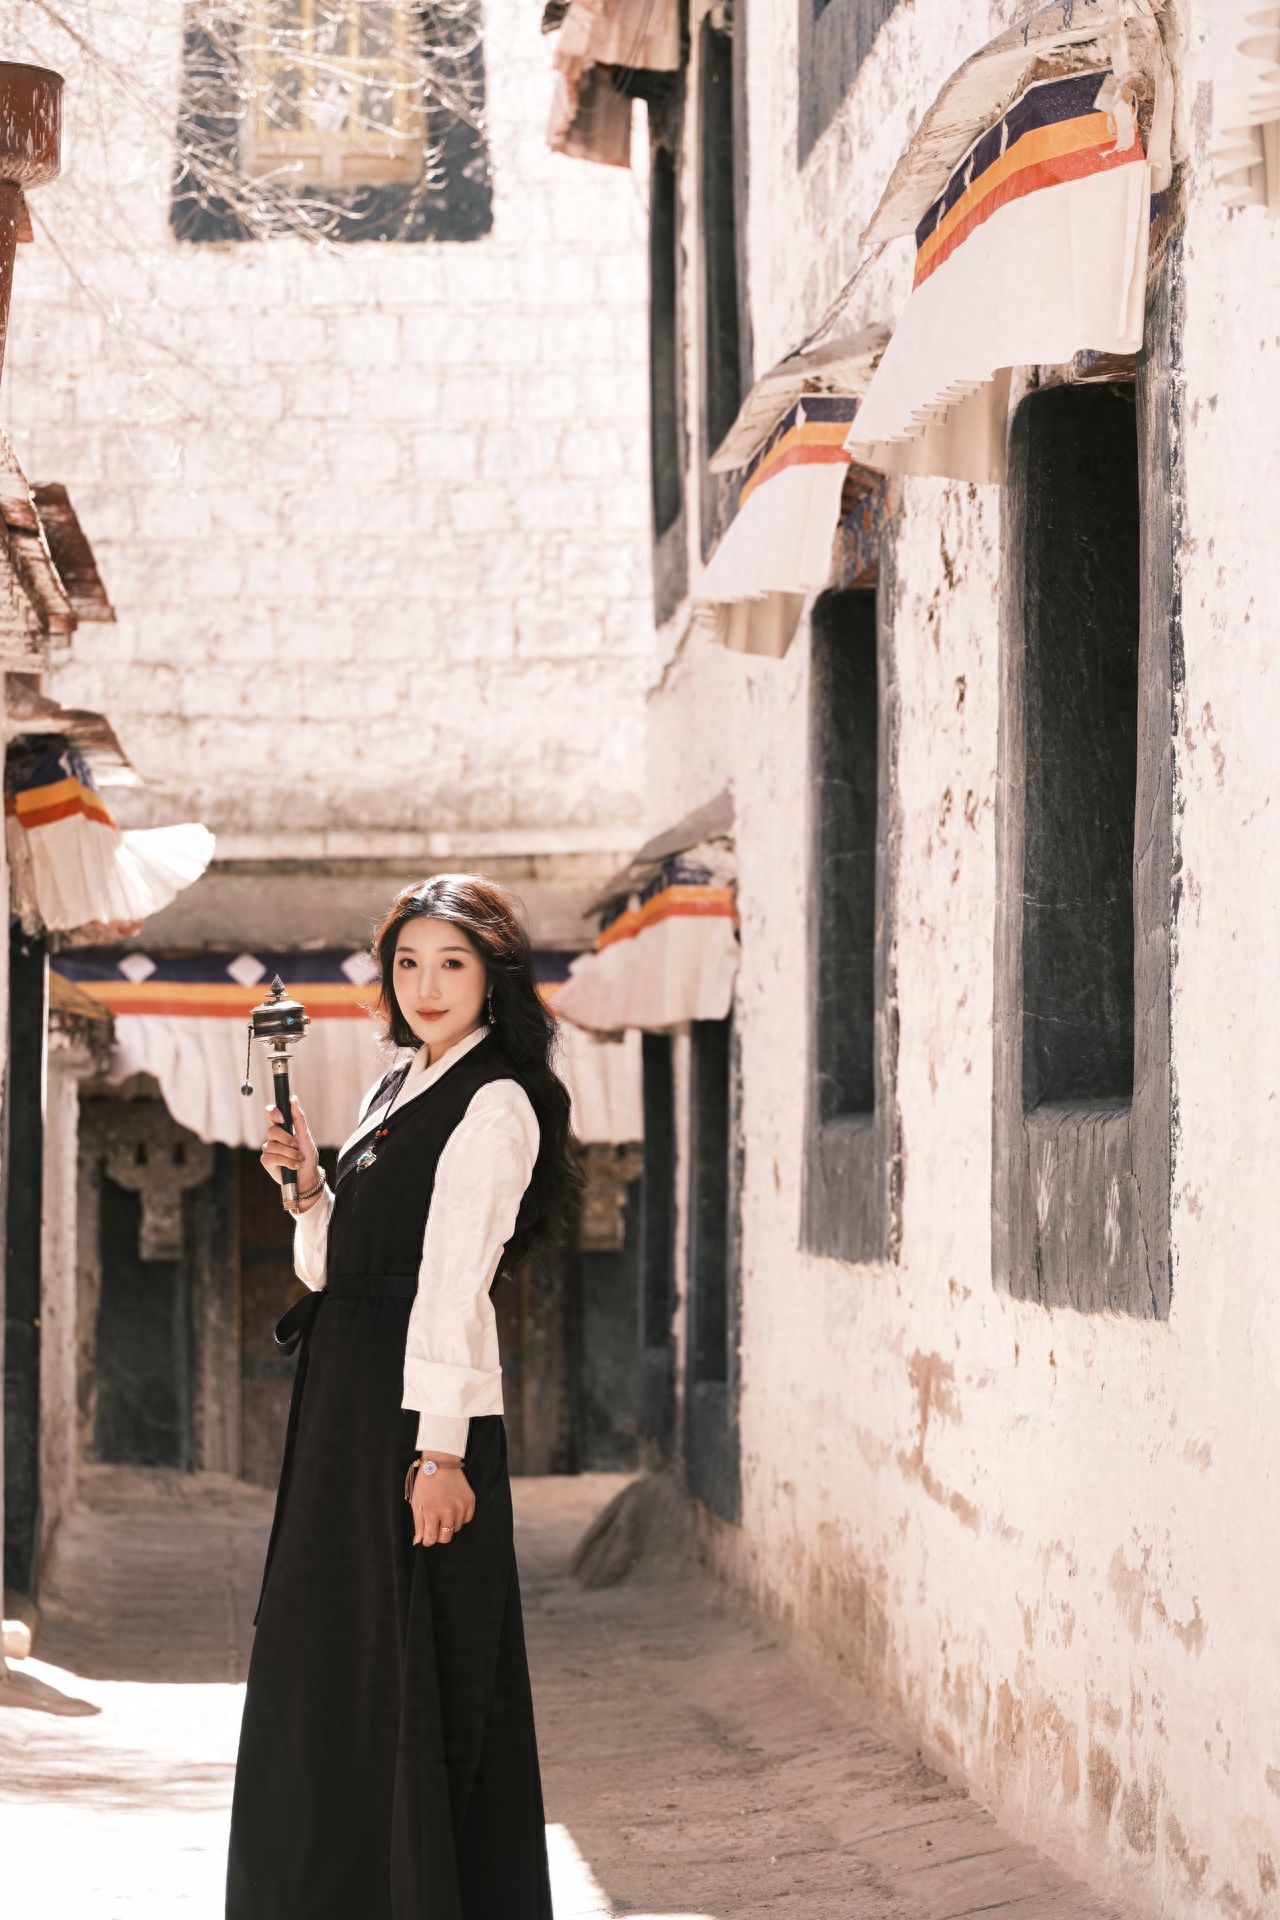
Sera Monastery - Take a photo with the narrow passageways and temple buildings.